Cross Sides Cane – 1 Securing the hip Admin2019-10-07T15:13:24+00:00Guard, Guard Passing, Guard Top| 0
Guard Passing With Matt 4 – What to do when you run into frames Gallery Guard Passing With Matt 4 – What to do when you run into frames Guard, Guard Passing Guard Passing With Matt 4 – What to do when you run into frames Admin2020-05-21T16:49:22+00:00Guard, Guard Passing| 0
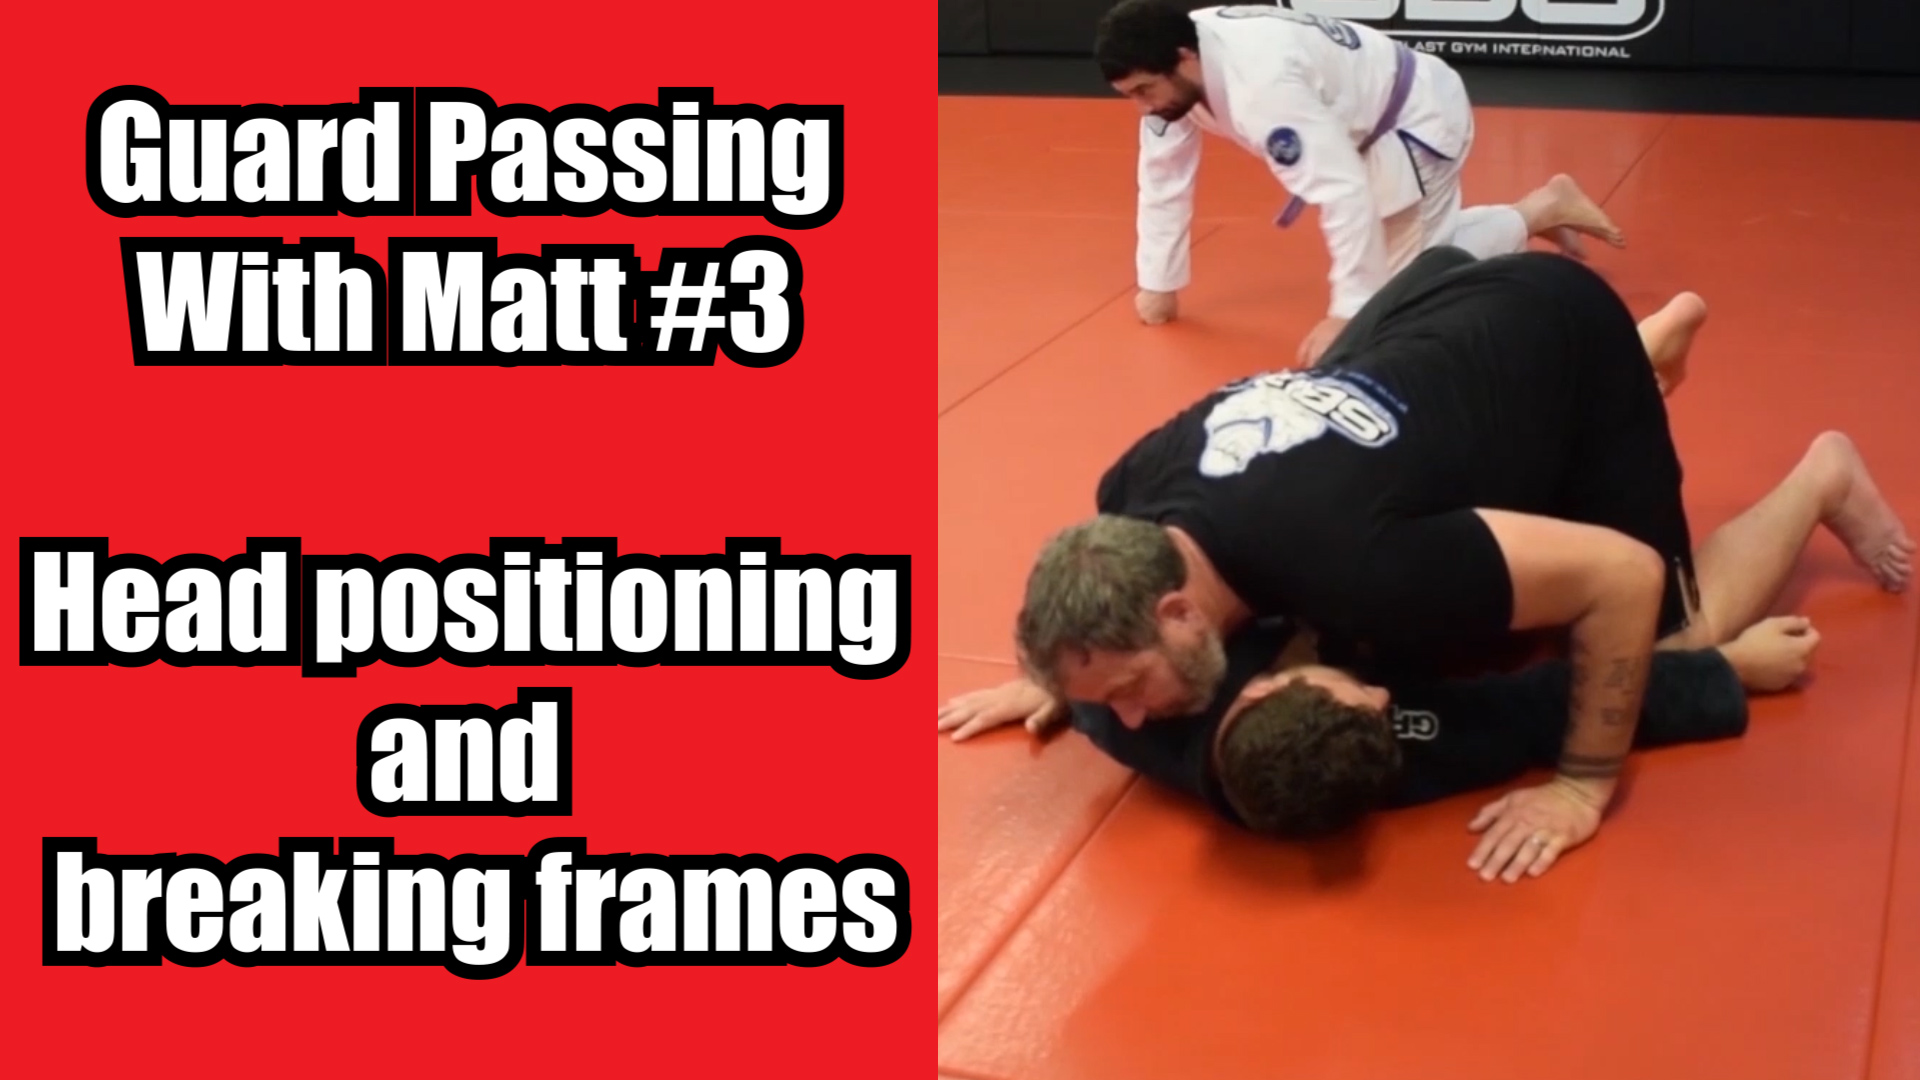
Guard Passing With Matt 3 – Head positioning and breaking frames Gallery Guard Passing With Matt 3 – Head positioning and breaking frames Guard, Guard Passing Guard Passing With Matt 3 – Head positioning and breaking frames Admin2019-10-11T22:58:45+00:00Guard, Guard Passing| 0
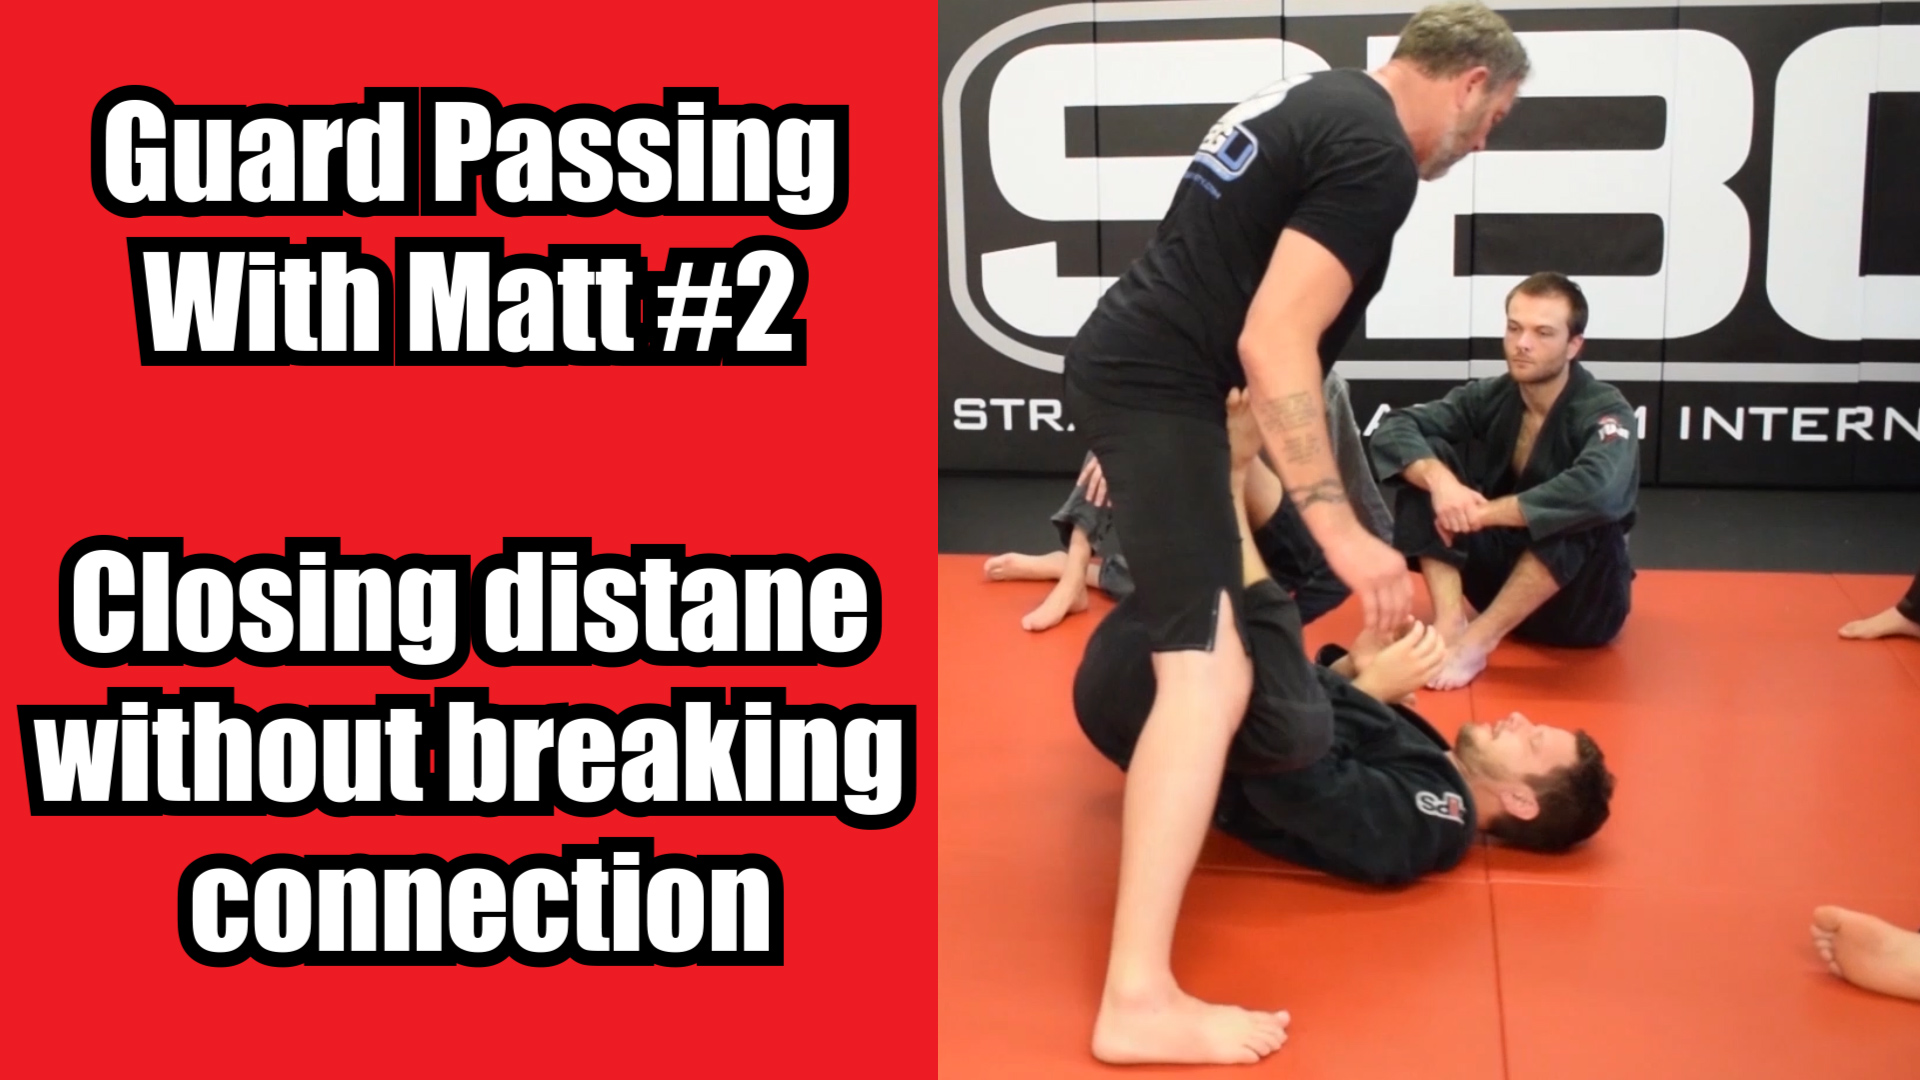
Guard Passing With Matt 2 – Closing distance without breaking connection Gallery Guard Passing With Matt 2 – Closing distance without breaking connection Guard, Guard Passing Guard Passing With Matt 2 – Closing distance without breaking connection Admin2019-10-11T22:58:29+00:00Guard, Guard Passing| 0
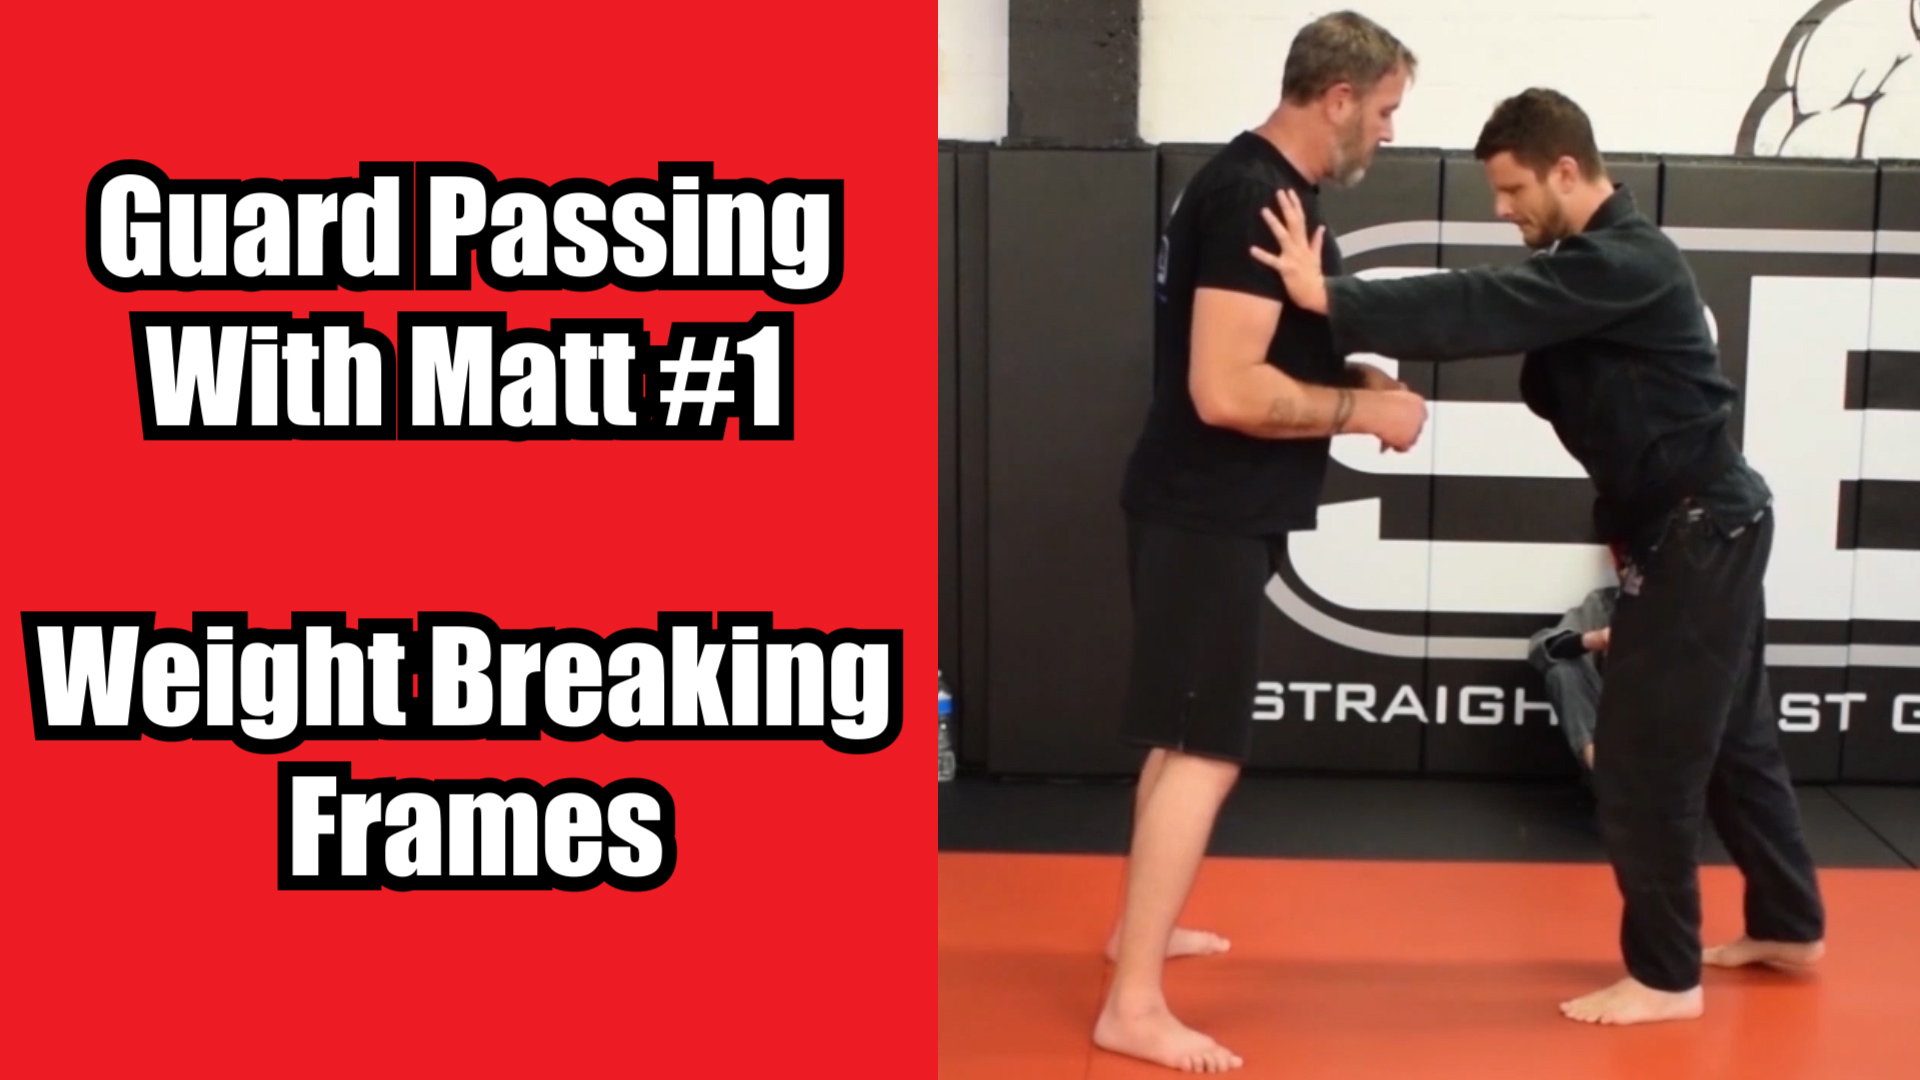
Guard Passing With Matt 1 – Weight Breaking Frames Gallery Guard Passing With Matt 1 – Weight Breaking Frames Guard Passing, Guard Top Guard Passing With Matt 1 – Weight Breaking Frames Admin2019-10-11T22:54:18+00:00Guard Passing, Guard Top| 0
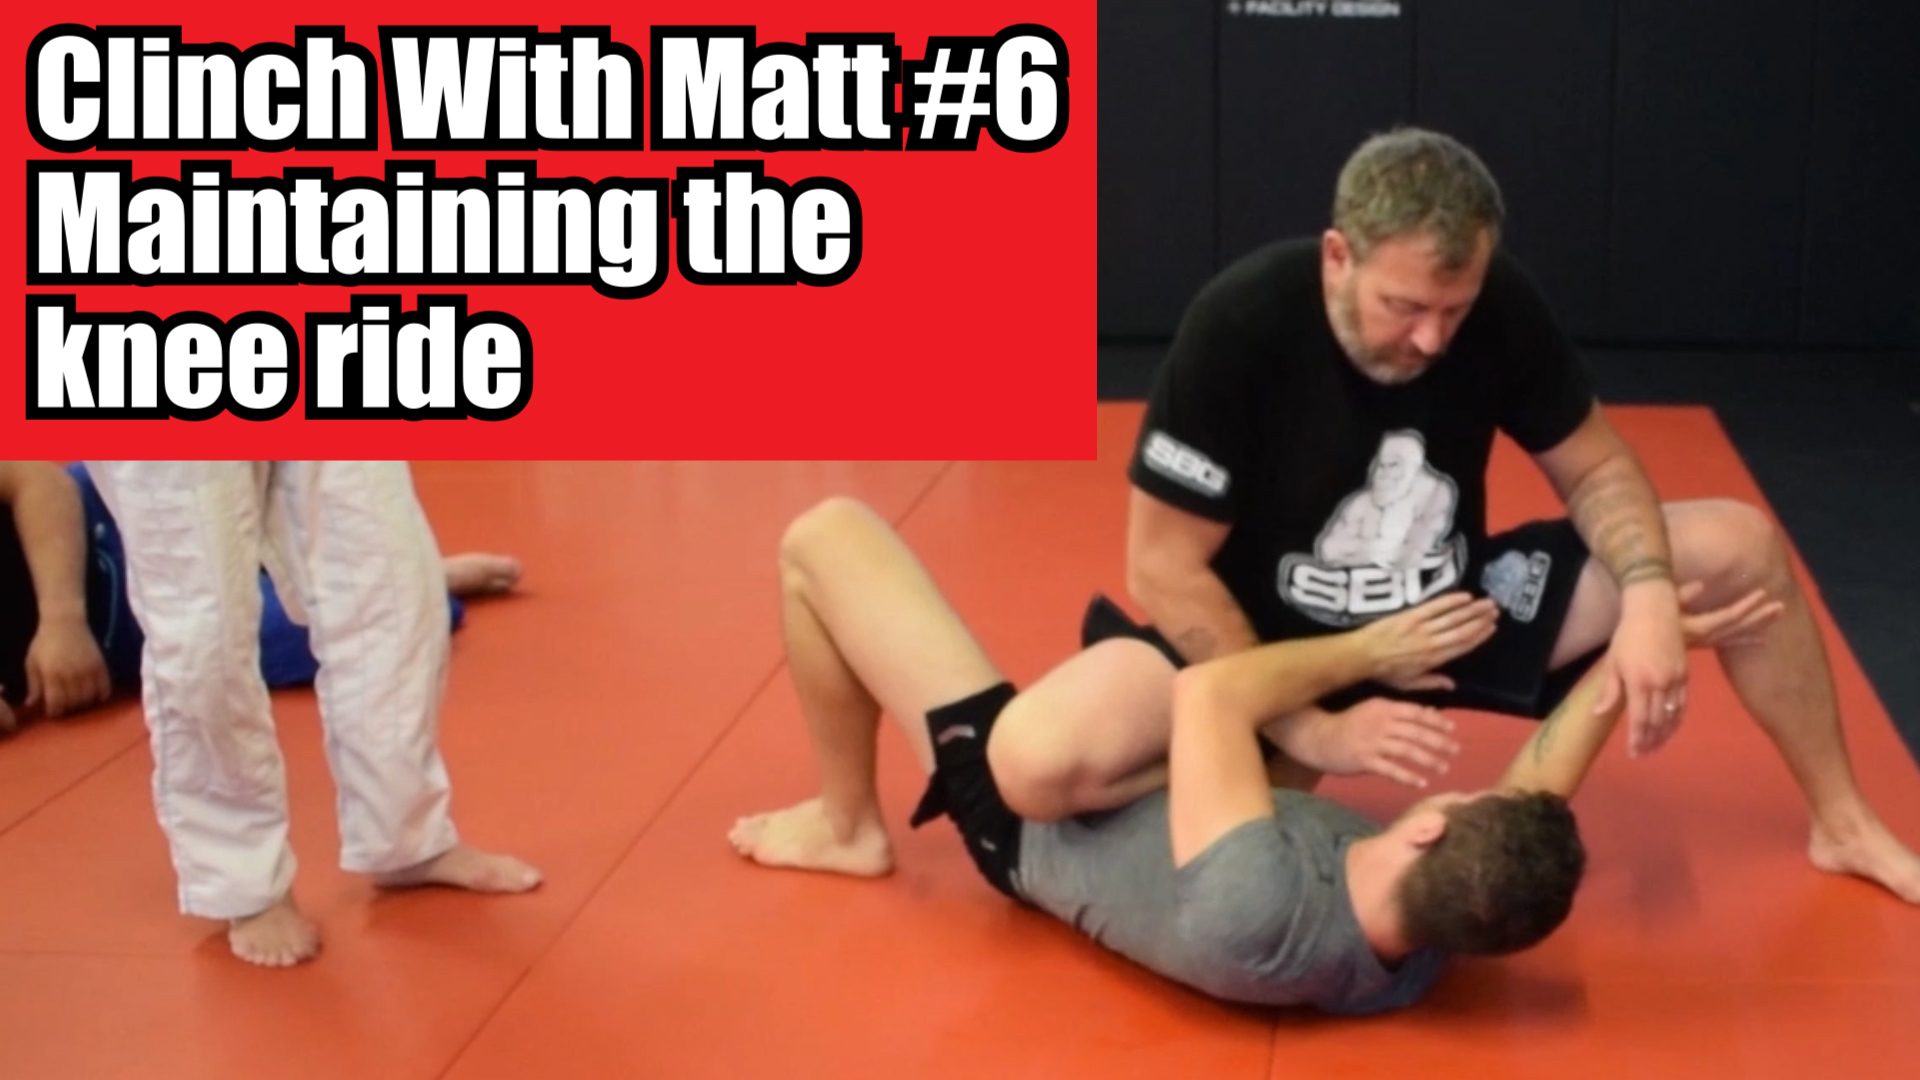
Clinch With Matt 6 – Maintaining the knee ride Gallery Clinch With Matt 6 – Maintaining the knee ride Knee Ride Clinch With Matt 6 – Maintaining the knee ride Admin2019-09-25T19:18:49+00:00Knee Ride| 0
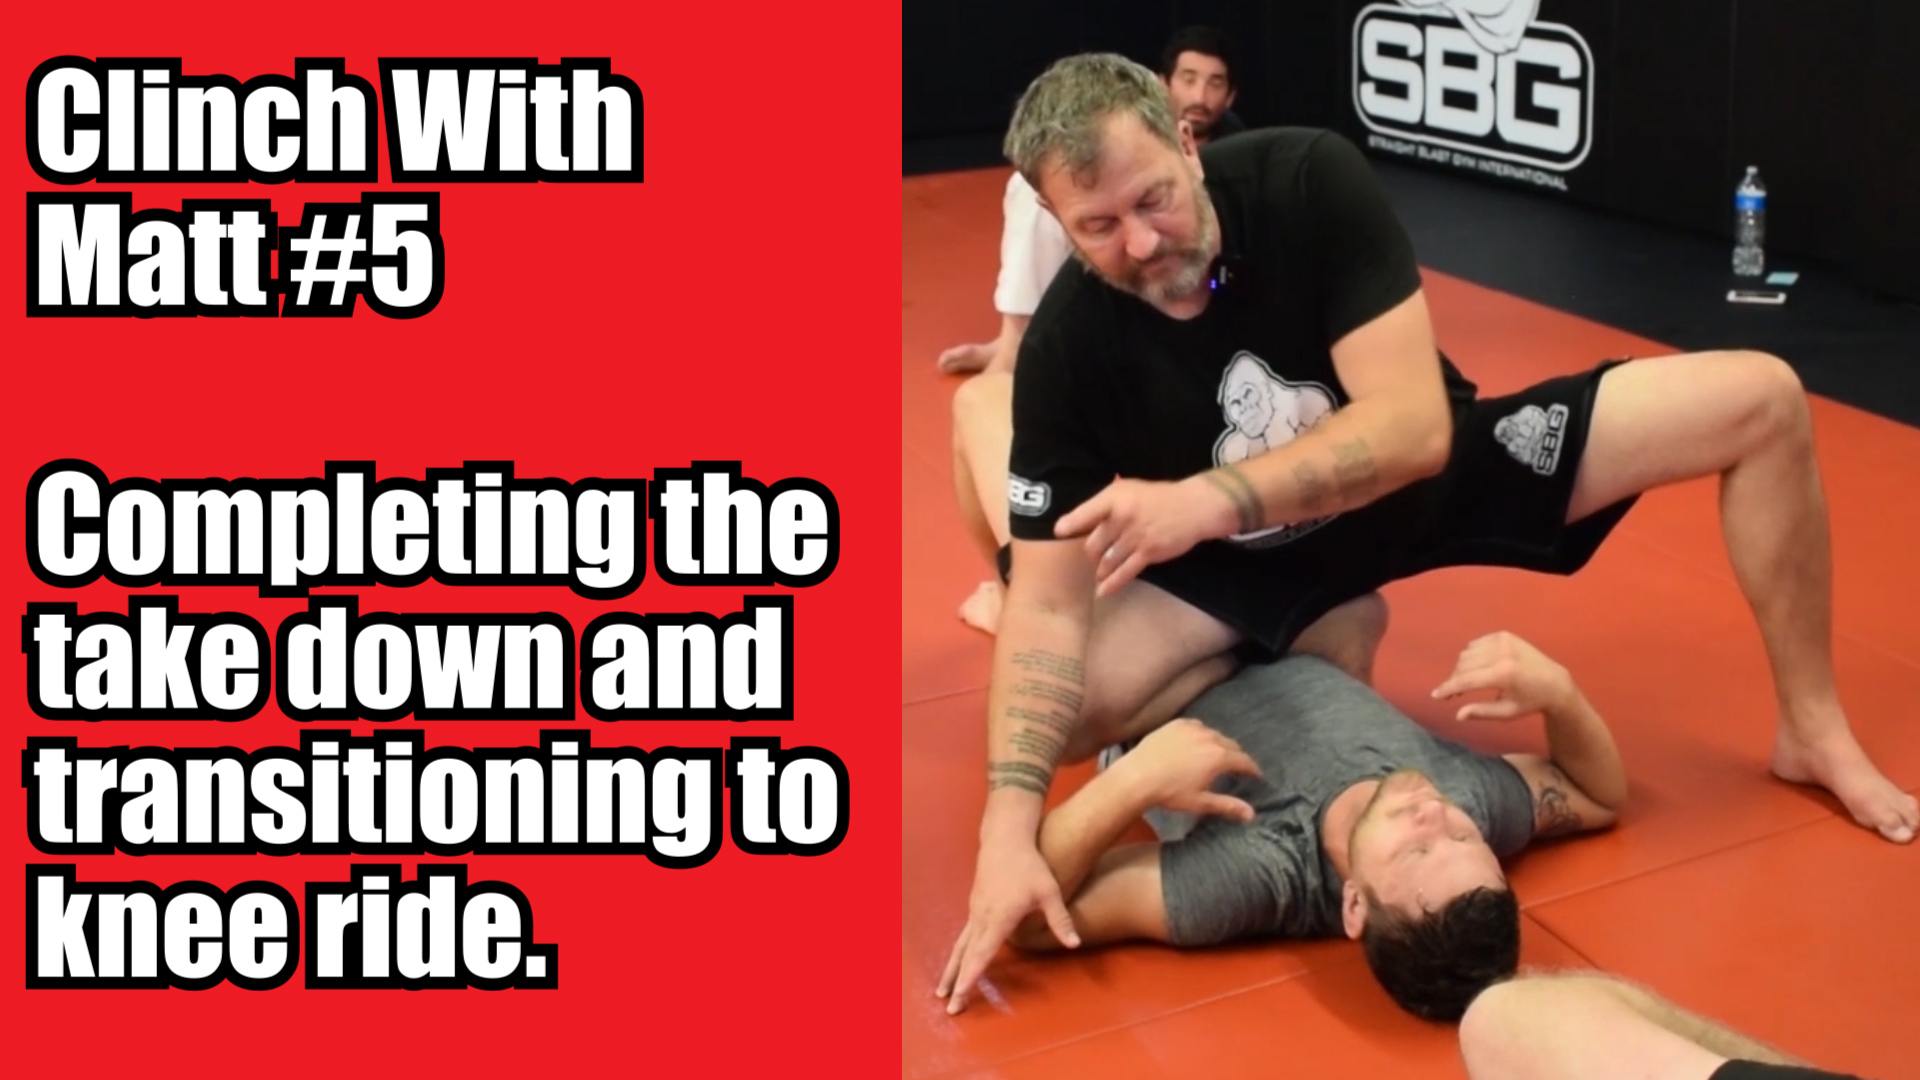
Clinch With Matt 5- Completing the take down and transitioning to knee ride. Gallery Clinch With Matt 5- Completing the take down and transitioning to knee ride. Clinch, Knee Ride, Take Downs Clinch With Matt 5- Completing the take down and transitioning to knee ride. Admin2019-09-25T19:18:37+00:00Clinch, Knee Ride, Take Downs| 0
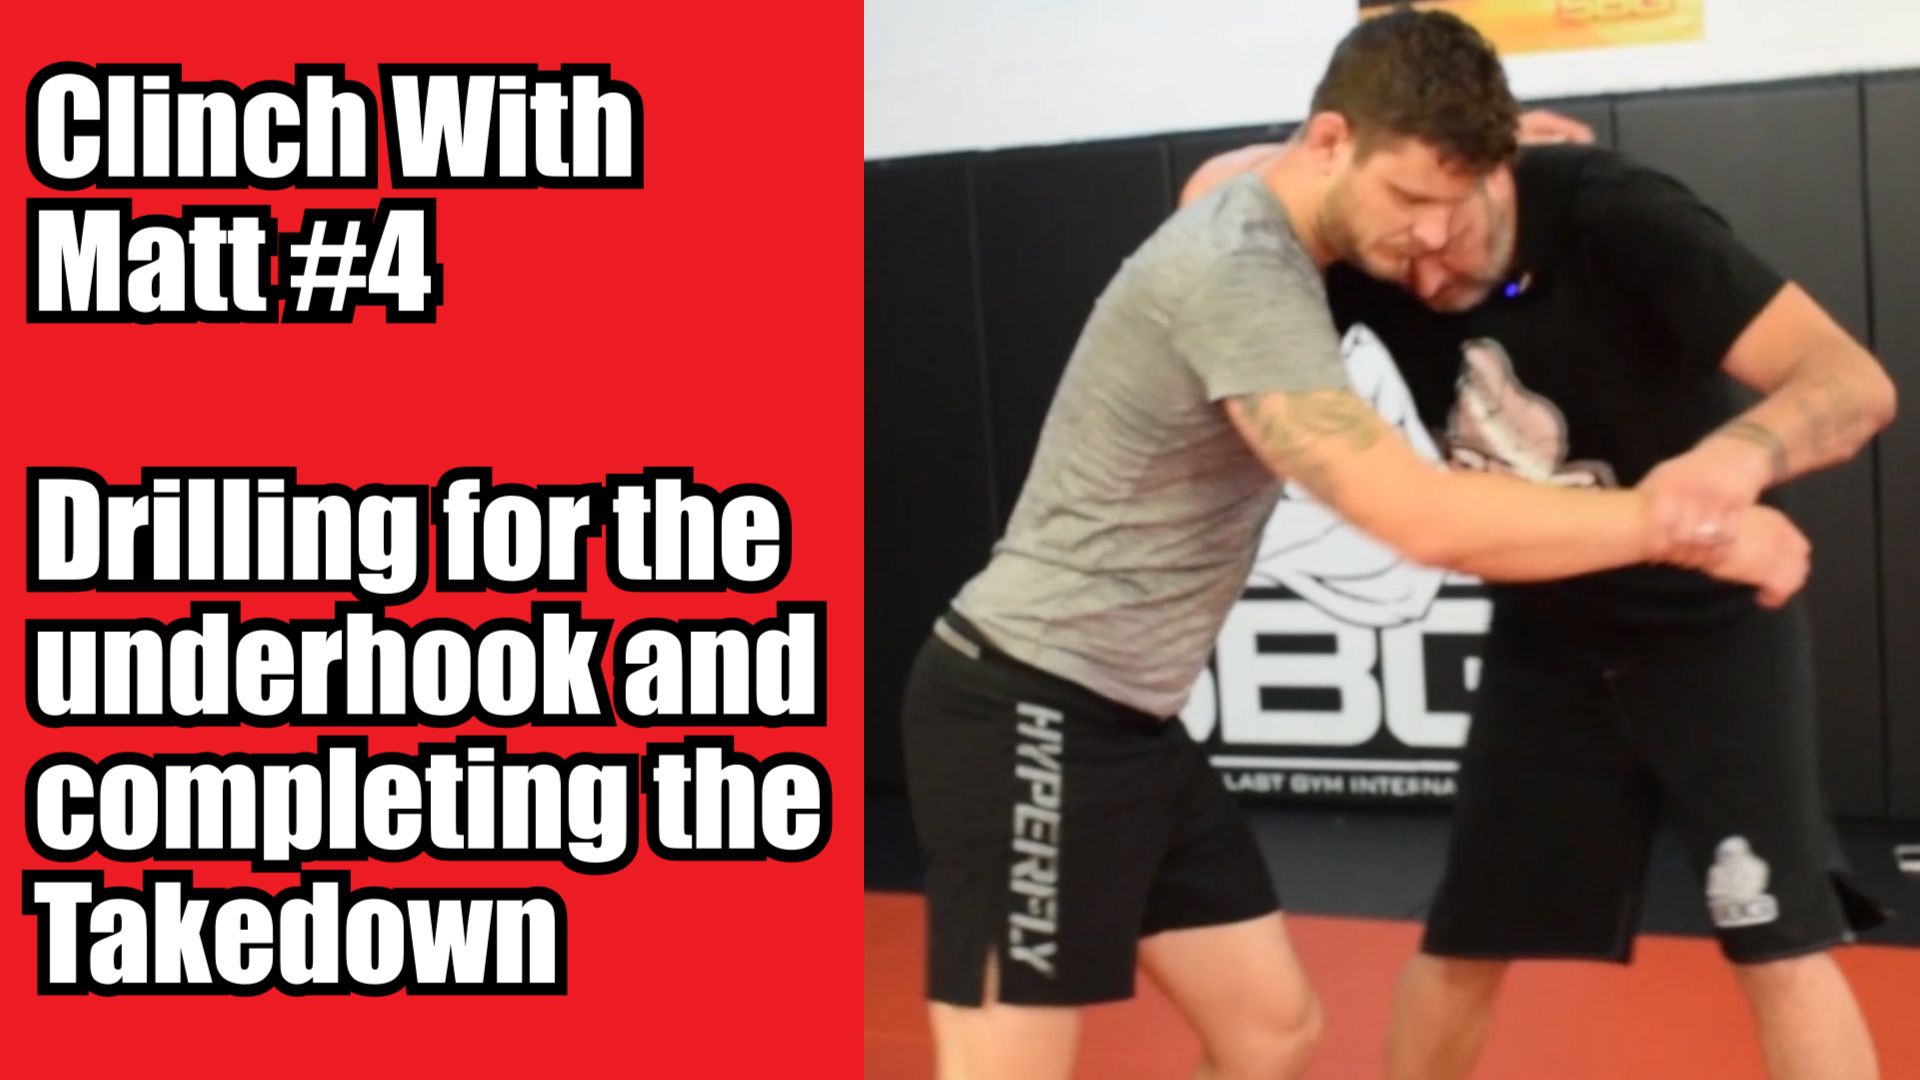
Clinch With Matt 4 – Drilling for the underhook and completing the Takedown Gallery Clinch With Matt 4 – Drilling for the underhook and completing the Takedown Clinch, Take Downs Clinch With Matt 4 – Drilling for the underhook and completing the Takedown Admin2019-09-25T19:18:34+00:00Clinch, Take Downs| 0
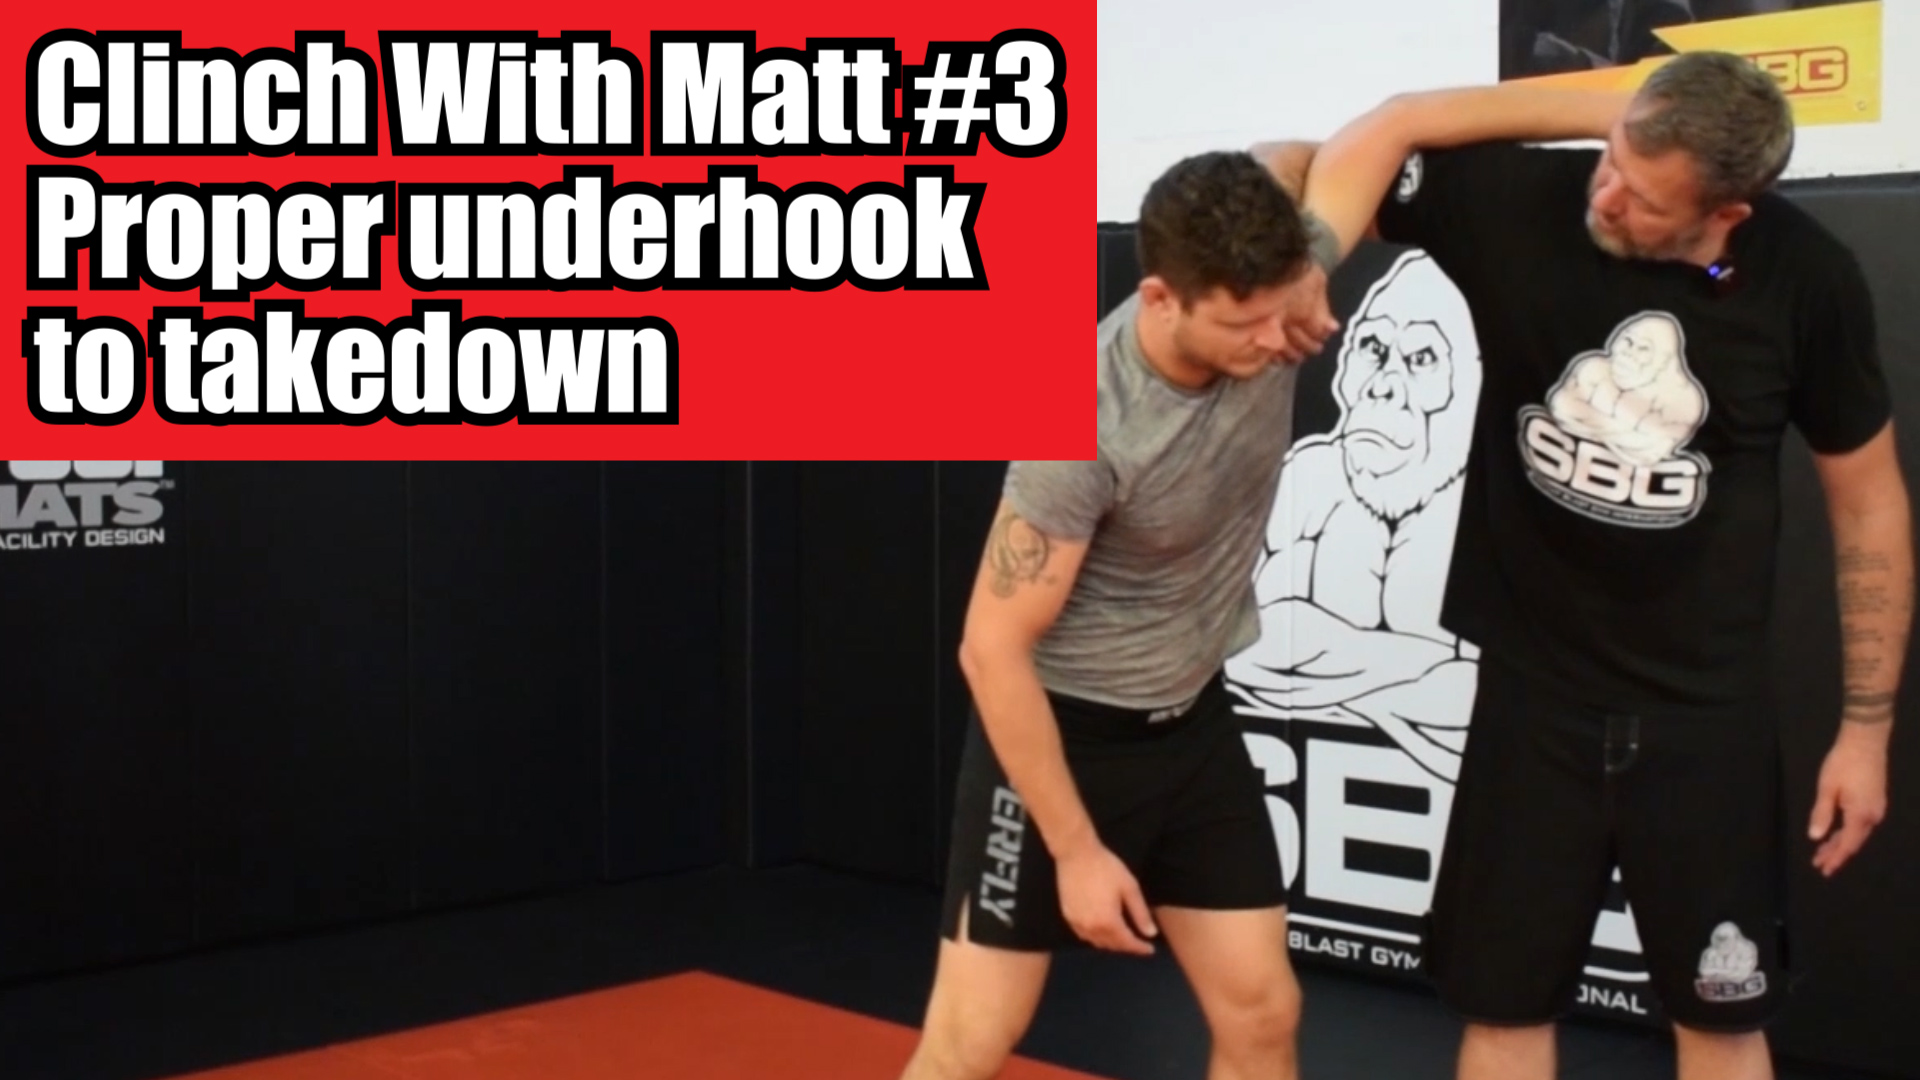
Clinch With Matt 3 – Proper underhook to takedown Gallery Clinch With Matt 3 – Proper underhook to takedown Clinch, Take Downs Clinch With Matt 3 – Proper underhook to takedown Admin2019-09-25T19:17:27+00:00Clinch, Take Downs| 0
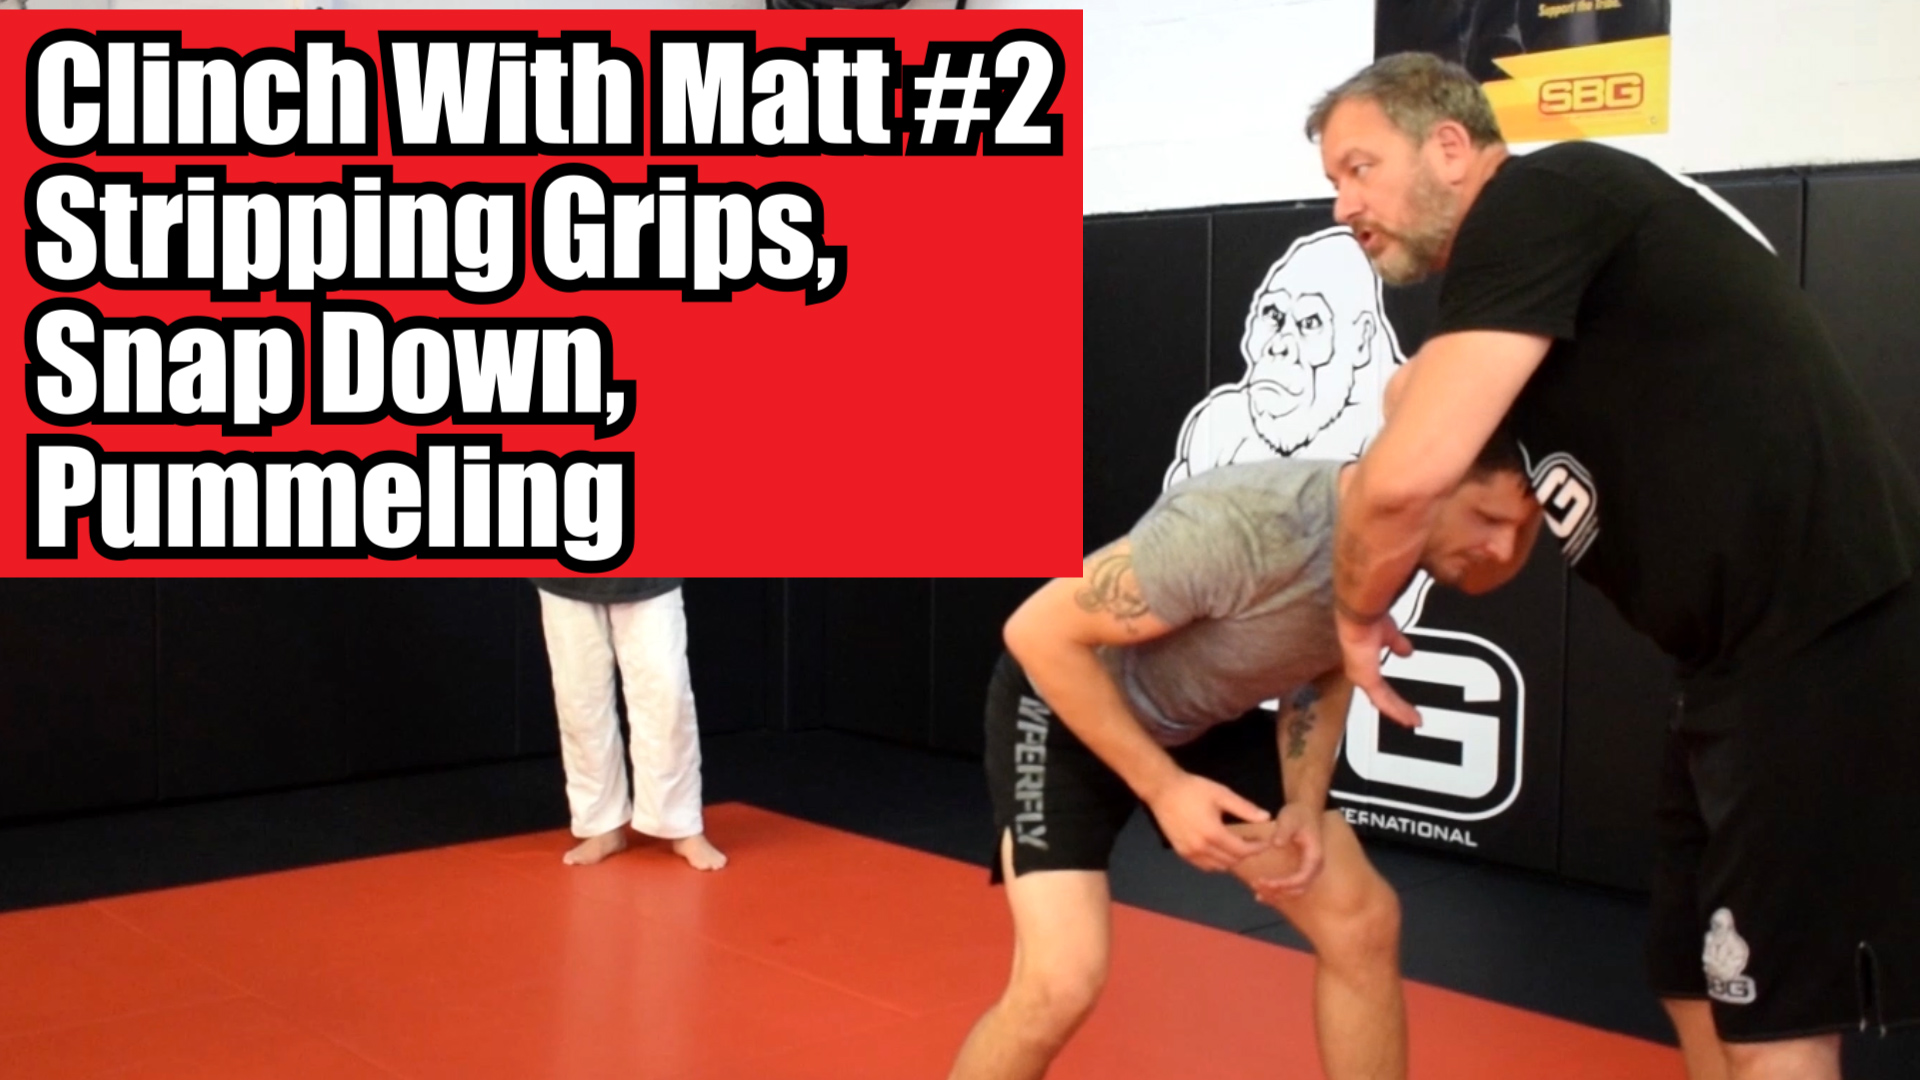
Clinch With Matt 2 – Stripping Grips, Snap Down, Pummeling Gallery Clinch With Matt 2 – Stripping Grips, Snap Down, Pummeling Clinch Clinch With Matt 2 – Stripping Grips, Snap Down, Pummeling Admin2019-09-25T19:17:04+00:00Clinch| 0